External Library
This guide walks you through adding an External Library. This guide assumes you are running Immich in Docker and that the files you wish to access are stored in a directory on the same machine.
Mount the directory into the containers.
Edit docker-compose.yml to add two new mount points under volumes:
  immich-server:
    volumes:
      - ${EXTERNAL_PATH}:/usr/src/app/external
  immich-microservices:
    volumes:
      - ${EXTERNAL_PATH}:/usr/src/app/external
Be sure to add exactly the same line to both immich-server: and immich-microservices:.
Edit .env to define EXTERNAL_PATH, substituting in the correct path for your computer:
EXTERNAL_PATH=<your-path-here>
On my computer, for example, I use this path:
EXTERNAL_PATH=/home/tenino/photos
The design choice to put the EXTERNAL_PATH into .env rather than put two copies of the absolute path in the yml file in order to make everything easier, so if you have two copies of the same path that have to be kept in sync, then someday later when you move the data, update only one of the paths, without everything will break mysteriously.
Restart Immich.
docker compose down
docker compose up -d
Create the library
In the Immich web UI:
-
click the Administration link in the upper right corner.

-
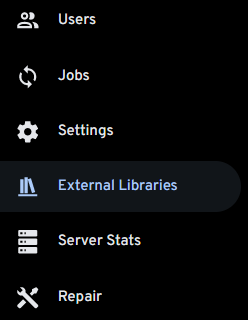
Select the External Libraries tab
-
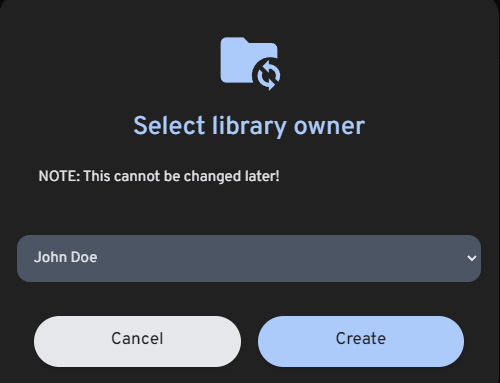
Click the Create Library button
-
In the dialog, select which user should own the new library
-
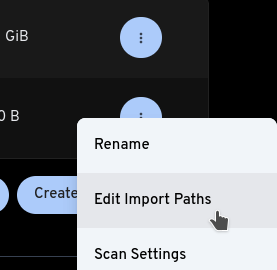
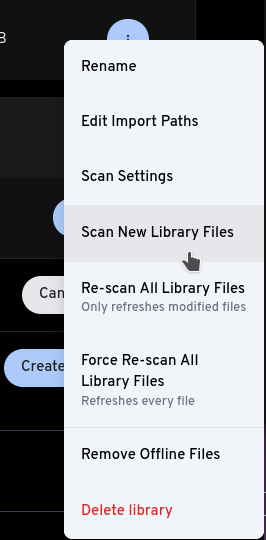
Click the three-dots menu and select Edit Import Paths
-
Click Add path
-
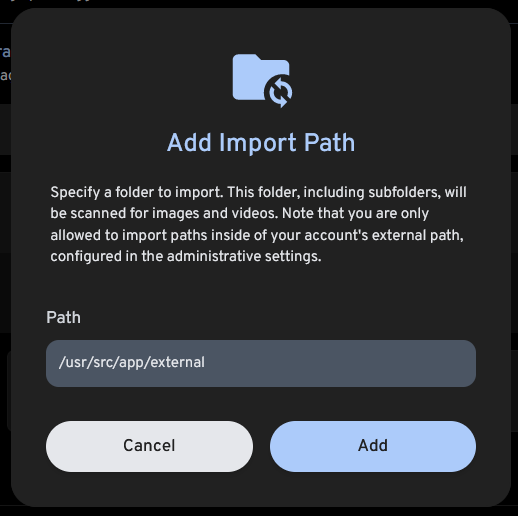
Enter /usr/src/app/external as the path and click Add
-
Save the new path
-
Click the three-dots menu and select Scan New Library Files
Confirm stuff is happening
-
Click Administration

-
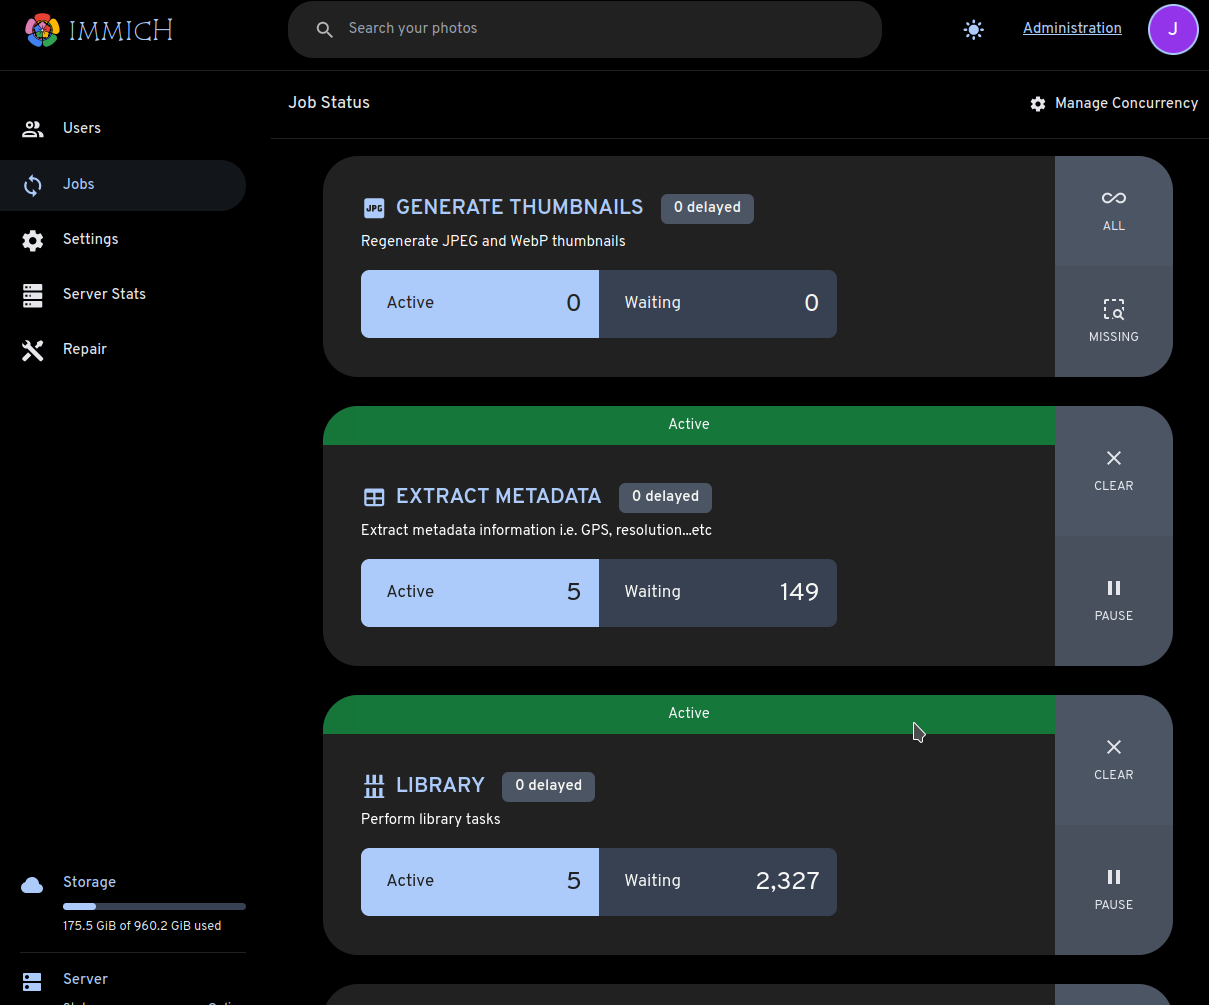
Select the Jobs tab

-
You should see non-zero Active jobs for Library, Generate Thumbnails, and Extract Metadata.
